Download the build for your computer
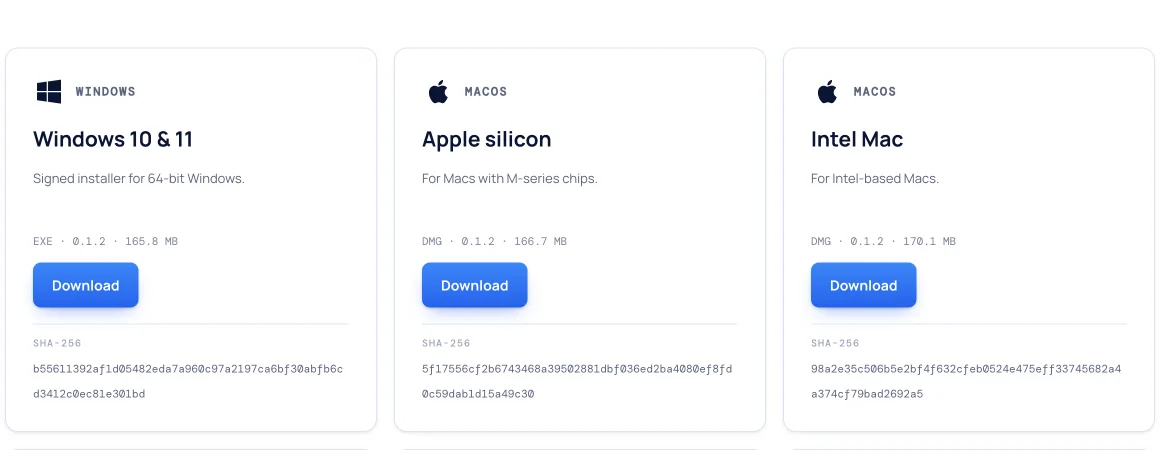
Six builds, one per platform. If you are not sure which Mac you have, the Apple menu → About This Mac tells you: an M-series chip means Apple silicon.

Install it, try everything for a fortnight, and licence it when you are ready. There is no account to create at any point, and the app never asks for the network.
Six builds, one per platform. If you are not sure which Mac you have, the Apple menu → About This Mac tells you: an M-series chip means Apple silicon.
Open the file you downloaded and follow the installer. Nothing is fetched from the internet on the way — everything the app uses is inside it, so this works on a machine with no network at all.
Every installer is signed. The macOS builds carry an Apple Developer ID and are notarised by Apple, so they open without a warning. The Windows installer is signed by Chadura Tech Private Limited — Windows names us in the User Account Control prompt, rather than saying “Unknown publisher”. SmartScreen may still show its blue “Windows protected your PC” panel for a while: it builds reputation against the certificate over time, rather than trusting a signature on sight; More info → Run anyway gets past it. Either way, the SHA-256 published beside every download is how you confirm the file you received is the file we built.
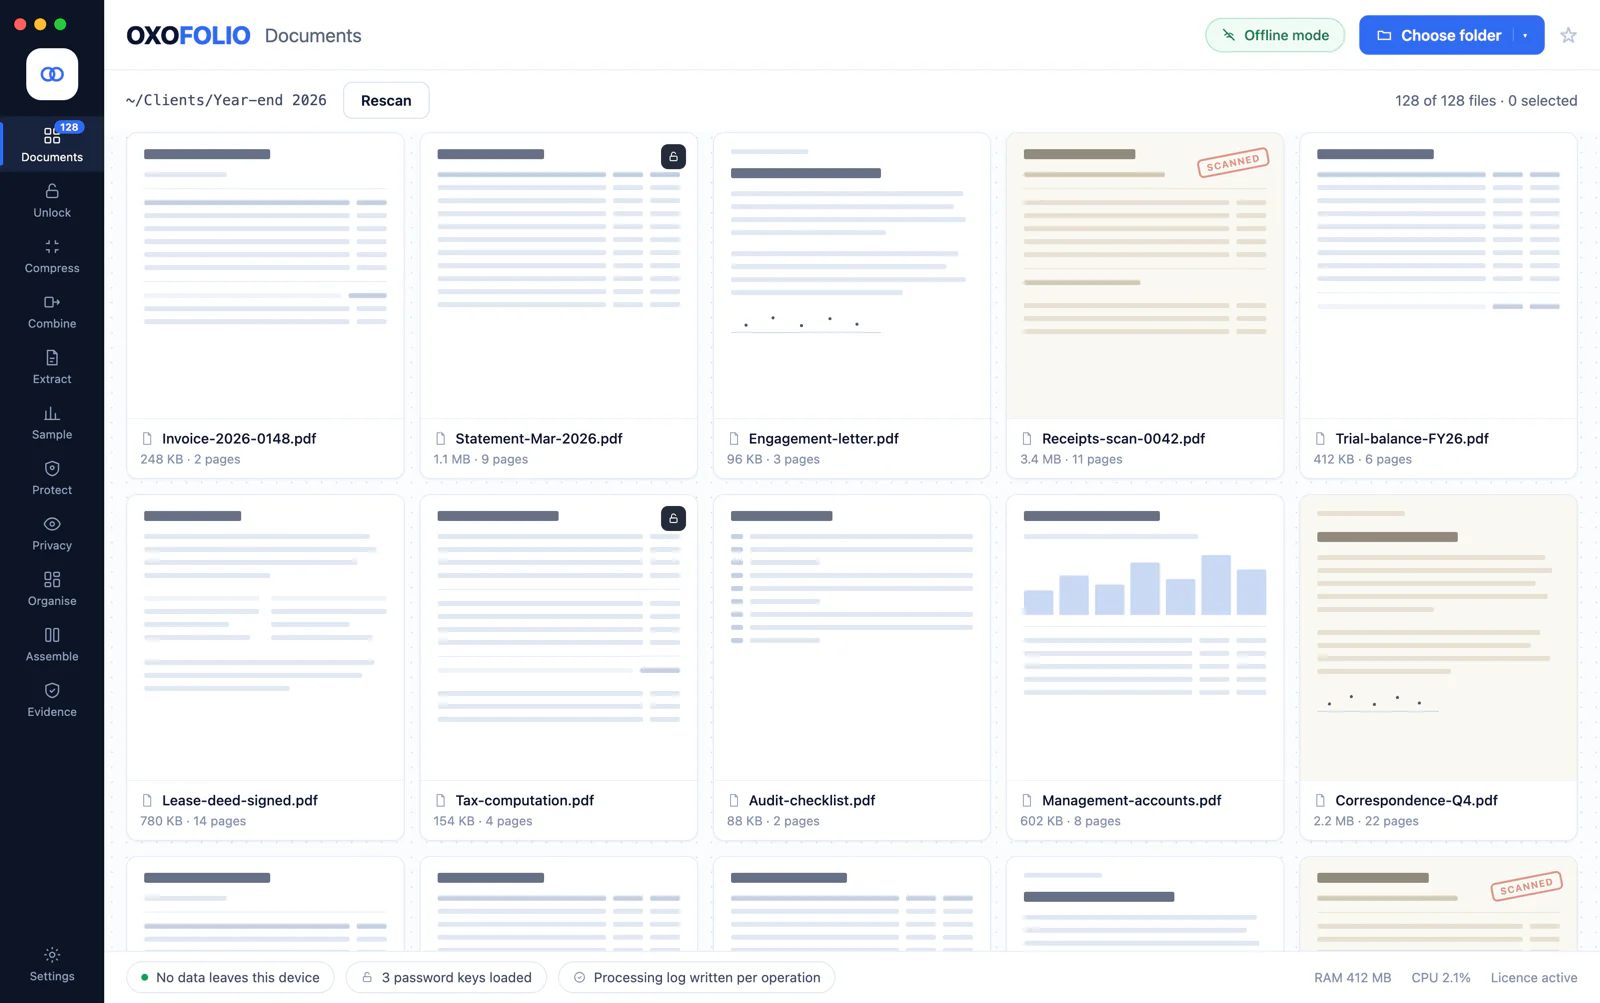
The trial is the whole application, not a reduced version — every tool, no watermarks, no export limits. Nothing you produce during it stops working when the trial ends, and your original documents are never modified.
From ₹999 a year for one person on the machines they use themselves, with Team and Firm licences for a practice. You will get a claim code by email — not the licence itself, and the next step explains why.
Prices are shown in rupees or dollars — switch currency on the pricing page. Rupee purchases are taken by Razorpay and come with a GST invoice; dollar purchases go through Dodo Payments, who handle the sales tax where you are. Everything after this step is identical wherever you bought.
A licence is signed for one computer, so it cannot be issued until we know which computer. Open Oxofolio and go to Settings:

Use the Copy button rather than retyping it. The characters deliberately avoid confusable pairs — there is no 0, O, 1, I or L in one — and a single wrong letter produces a licence that will not work on your machine, failing in a way you cannot tell apart from any other licensing problem.
The machine ID is a one-way hash of two identifiers your operating system already knows about the hardware. It identifies a computer, not a person, and the app never transmits it — it is shown to you precisely so that sending it to us is something you choose to do.
The link in your purchase email opens a page that already knows your claim code. Paste in the machine ID, and the licence file downloads straight away — a copy is emailed to you as well.
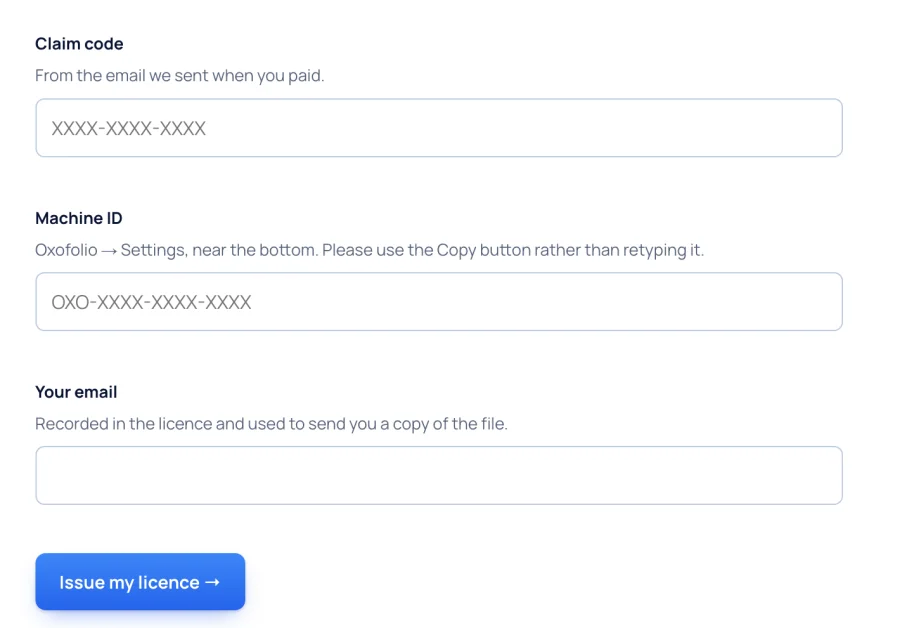
Then back in Oxofolio, in the same Settings screen:

One licence, one computer. If several people need Oxofolio, each machine has its own seat and its own file. Claiming the same computer twice returns the licence it already has rather than using up another seat.
Replacing a computer is free. Reinstalling your operating system makes a machine look new to Oxofolio. The seat moves across and keeps its expiry date — that is a reissue, and it does not cost another seat. You get seven days of warnings before anything stops, so a reinstall on a Friday does not stop work until the following week.
There is nothing to activate. The licence is checked on your own machine, offline, by your own copy of the app. Installing it contacts nobody, and neither does anything you do afterwards — your IT team can confirm it opens no sockets while it runs.
Losing the file is not a problem. Your purchase page keeps every licence it has issued, downloadable at any time.
Stuck on any of this? Raise a ticket — bring your claim code and machine ID and it is usually answered in one reply. Anything else, ask us, or read the help centre.